
Text-to-video AI has become a practical production tool in 2026. Individual creators and small teams can now produce polished short-form video for social media, product demos, and marketing without a studio or editing crew. Most guides focus on choosing a video model, but the step that separates polished output from rough drafts is image generation. A strong AI image generator for reference frames makes every downstream step easier. This guide covers the full workflow from text prompt to exported clip.
How Text-to-Video AI Works
Text-to-video models convert natural language descriptions into frame sequences with temporal coherence. Models like Veo 3, Kling 2.6, and Seedance 2.0 can generate 5 to 15 second clips with smooth transitions and, in some cases, synchronized audio. The underlying technology shares significant overlap with text-to-image diffusion models, which is why understanding image generation directly improves video results.
The pipeline has three layers: text encoding maps your prompt to visual concepts, a diffusion process generates individual frames, and temporal interpolation stitches them into coherent motion. The quality ceiling is set at the frame level. No amount of motion smoothing fixes poorly composed individual frames, which is why the image generation step matters more than most creators realize.
Why Image Quality Determines Video Quality
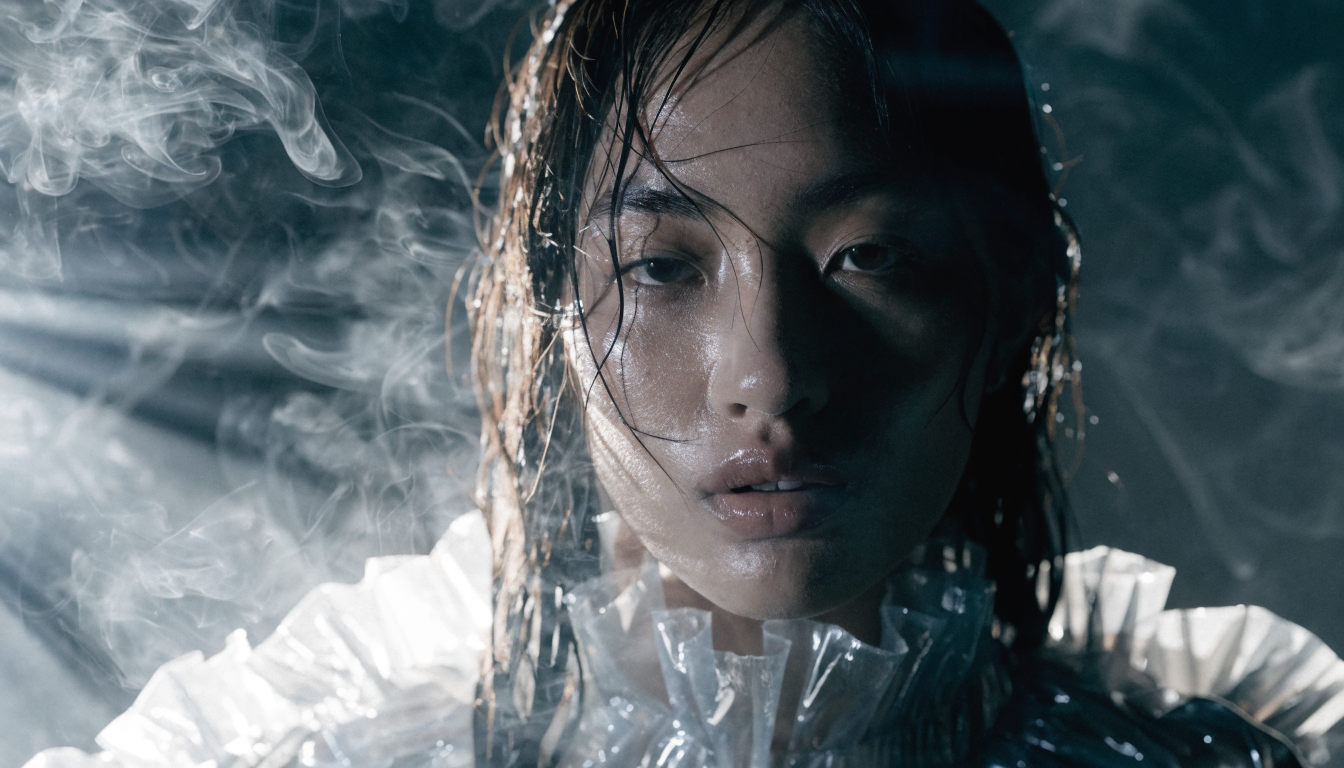
A video is a rapid sequence of images. If the individual frames have weak composition, inconsistent lighting, or artifacts, the final clip will look amateurish regardless of the motion model. Creators who generate high-fidelity reference frames before touching a video model consistently produce better results. The detail and prompt adherence available in models like FLUX 1.1 Pro make them well suited for creating the key frames that anchor a video sequence.

Think of image generation as storyboarding. You tell the video model exactly what each scene should look like rather than leaving every visual decision to a text description. When you supply reference frames, the video model inherits your composition, color palette, and lighting instead of guessing.
Step-by-Step: From Text Prompt to Finished Clip
1. Write Individual Shot Prompts
Break your video into individual shots. Each shot should describe one camera angle, one subject, one action, and one environment. For example: “A woman in a dark studio painting on a digital tablet, medium close-up, soft rim lighting, shallow depth of field.” Writing one prompt per shot produces more consistent results than describing an entire scene in a single paragraph. The FLUX prompt generator helps structure each description for photorealistic output.
2. Generate Reference Frames
Before using a video model, generate a reference image for each shot. This anchors the visual style, lighting, and subject positioning across every frame in the clip. Wireflow’s AI image platform is one option for producing consistent, high-resolution reference images that video models can use as starting points. Upload each reference image as input when you run the video model to get dramatically better output than text-only prompts.

3. Choose a Video Model and Generate Clips
Different models handle different shot types. Veo 3 leads on cinematic realism with synchronized sound. Kling 2.6 excels at character expressions and fluid body movement. Seedance 2.0 handles product shots and dynamic camera moves well. Match the model to the shot rather than running everything through one tool. Review every generated clip at full resolution and regenerate any shot with distorted hands, warped text, or inconsistent faces between cuts.
4. Add Audio and Export
Audio transforms a set of clips into a finished video. Script your voiceover separately so narration edits do not require regenerating visuals. Keep your visual consistency by referencing a prompt library for each project so regenerated shots match the originals. Choose background music before finalizing cuts, because rhythm guides your edit points. Export at the correct resolution: 1080×1920 for vertical short-form, 1920×1080 for horizontal, and 1080×1080 for feed posts.
Post-Processing Video Frames
Sometimes generated frames need adjustments before animation: background removal, color correction, or object cleanup. Fixing problems at the image level prevents them from multiplying across 30 frames per second. A small artifact in a still image becomes a distracting flicker in motion. Wireflow’s editing tools handle these frame-level adjustments without Photoshop, which is practical when processing dozens of frames across a multi-shot sequence.
Models and Tools Worth Knowing in 2026
The text-to-video space has consolidated around a few major platforms, each with specific strengths. Pairing them with a capable image generator for key-frame prep is what separates polished output from mediocre first drafts. For a broader look at how image generators compare, the AI image generator comparison covers the landscape.
- Veo 3: Cinematic realism, synchronized audio, up to 15-second clips. Strong on complex lighting and long coherent motion.
- Kling 2.6: Character expressions, fluid body motion, up to 10 seconds. Best results when paired with per-character reference images.
- Seedance 2.0: Product shots, dynamic camera movement, up to 10 seconds. Consistent background rendering across cuts.
- Synthesia: Avatar-based explainer videos, minutes-long output with built-in TTS. Popular for corporate and tutorial formats.
- HeyGen: Digital twin and presenter-style videos. Strong for sales and onboarding content with natural-sounding voiceover.
For the image generation step specifically, FLUX-based models remain among the strongest options for photorealistic reference frames. The FLUX Krea integration offers real-time generation that speeds up the key-frame iteration cycle.
FAQ
How long does it take to make a text-to-video clip? A single 5 to 10 second shot takes 30 seconds to 3 minutes depending on the model. A 30-second edit with 4 to 6 shots, audio, and captions typically takes 20 to 45 minutes end to end. Using structured prompt templates shortens the key-frame prep stage significantly.
Do I need video editing experience? Basic timeline skills help, but many tools handle sequencing, transitions, and captions automatically. If you can write a prompt and arrange clips in order, you can produce usable video. The FLUX Realtime model lets beginners iterate on reference frames quickly before committing to video generation.
What is the best video model right now? There is no single best model. Veo 3 and Kling 2.6 lead on cinematic realism and character motion respectively. Seedance handles product shots well. Synthesia and HeyGen dominate avatar-based content. Match the model to the shot type rather than looking for one tool to do everything.
How much does text-to-video cost? Costs range from free tiers to several dollars per minute of finished video. The main cost driver is regenerations per shot, which is why investing in high-quality reference frames up front reduces total spend. Understanding what your image model produces natively helps minimize wasted credits.
Can AI video maintain consistent characters across shots? Yes, when you supply reference images. Text-only prompts are unreliable for multi-shot character consistency. Generate a character reference sheet with a high-fidelity image model, then use it as input for every shot featuring that character.
Conclusion
Turning text into video with AI in 2026 follows a clear pipeline: write per-shot prompts, generate high-quality reference frames with an image model, run each shot through the appropriate video model, add audio, and review before export. The creators producing the best results treat image generation as the foundation of the process, not an afterthought. Start with one 15-second clip, get the key frames right, and then scale the workflow to longer projects.