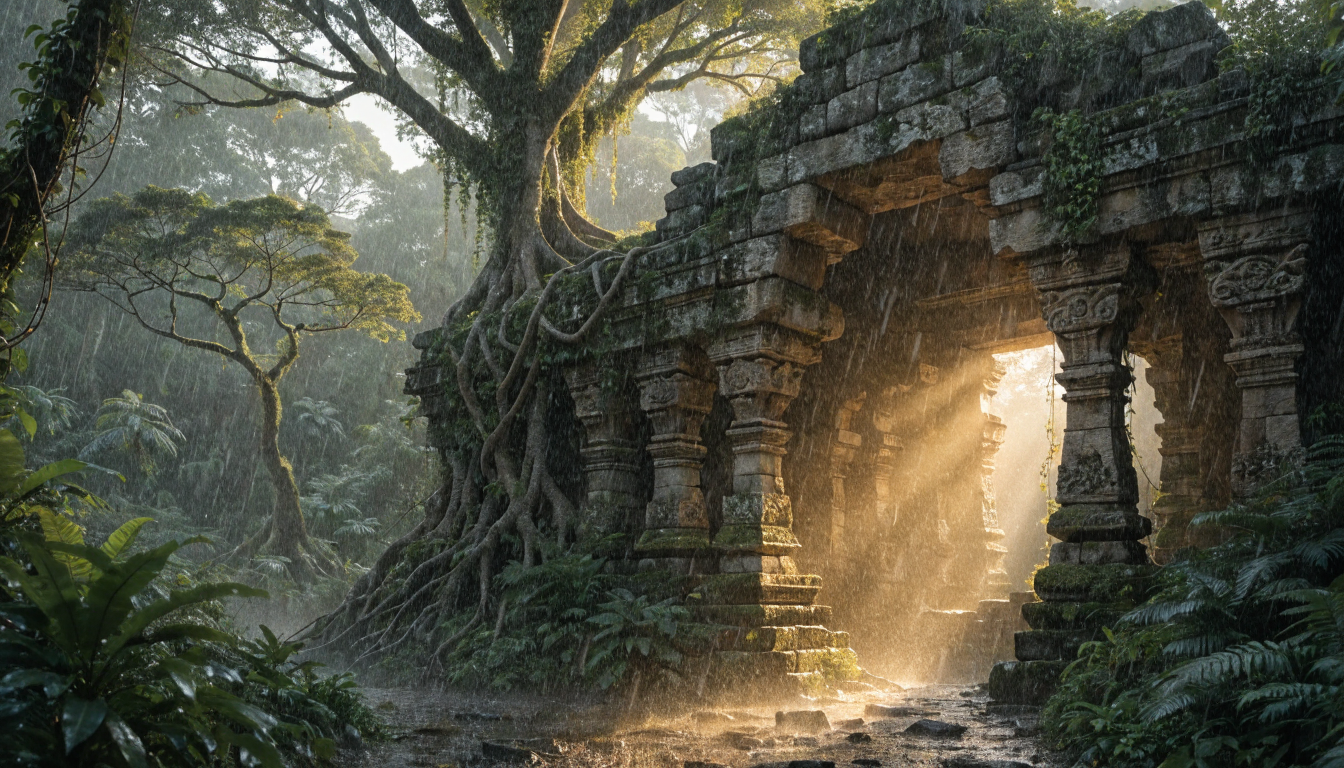
Clarity Upscaler is useful when an AI image is already composed well, but still needs print-ready detail, cleaner edges, or a larger delivery size. In practice, it belongs after generation and editing, not at the start of the workflow, much like the final enhancement pass covered in this guide to AI photo enhancement tools.
What Clarity Upscaler does
Clarity Upscaler by philz1337x is an open-source, Stable Diffusion based img2img diffusion upscaler. It uses the Juggernaut Reborn checkpoint and is often described as a free Magnific alternative because it does more than resize pixels. It redraws detail while trying to preserve the structure of the input image.
That matters for AI image production because many generated images look finished at social sizes, then show softness when cropped, printed, or placed into a landing page. If the source was created with a model like Flux, the upscaler should be treated as a finishing step after the prompt, composition, and edit pass are settled, similar to the workflow around a Flux AI image generator.
Choose the API host before you write code
The same Clarity workflow is available through several hosted APIs, but the pricing model changes the best implementation choice. Replicate hosts philz1337x/clarity-upscaler at about $0.026 per run with a typical runtime around 23 seconds. fal.ai hosts fal-ai/clarity-upscaler at $0.03 per megapixel of output. Segmind offers pay-per-call access, and clarityai.co/api provides a first-party SaaS option. Crystal Upscaler is a portrait-focused variant available on fal.ai.
For small tests, those differences may not matter. For large images, per-megapixel pricing can become the main cost driver because a 2x upscale increases both width and height, so the output has four times the pixels. If you plan to upscale many generated assets, treat the host choice like a batch processing decision and estimate it the same way you would estimate batch image generation via API.
Tune creativity and resemblance together
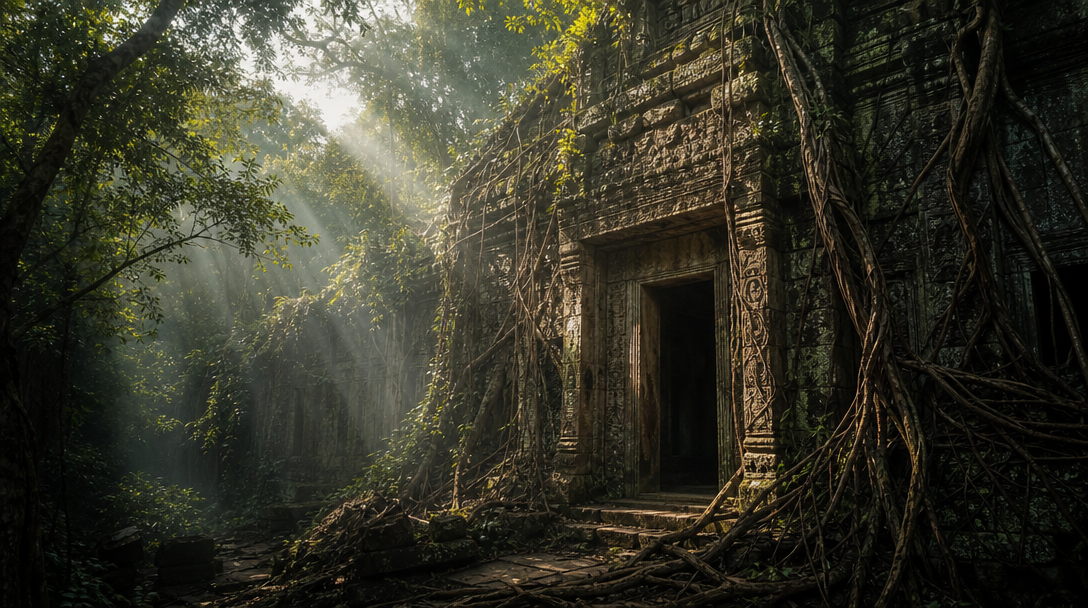
Most failed Clarity API runs come from treating the parameters as independent sliders. The key input is image, usually a public image URL. The common defaults are prompt: "masterpiece, best quality, highres", scale_factor: 2, creativity: 0.35, resemblance: 0.6, dynamic: 6, and num_inference_steps: 18. seed makes outputs repeatable, tiling helps with repeating textures, and lora_links can steer style.
In a production setup, run this as a controlled branch: one output keeps resemblance high, another tests slightly more creativity, and the final choice is reviewed visually. A workflow-based image production platform is useful here because the upscaler is only one node in a larger image chain, not a standalone magic button.
The practical tradeoff is simple. Raising creativity lets the model invent more texture, sharper micro-detail, and richer surfaces, but it can also change faces, text, product edges, or background shapes. Raising resemblance pulls the result back toward the input, which protects identity and layout, but it can leave soft areas less improved. Start at creativity: 0.35 and resemblance: 0.6, then move one value at a time.
Use dynamic for the HDR and contrast feel, not for fixing composition. A low value keeps the image flatter and closer to the original. A high value can make texture pop, but it may also add harsh contrast. If your team already builds image chains, this is the same kind of tradeoff you make in a visual AI pipeline builder: preserve the source where identity matters, and allow controlled invention only where detail is missing.
How to upscale an image with the Segmind API
The cleanest first test is a single POST request with a hosted image URL. Use an image that is already final enough to keep, because the API should enhance it rather than rescue a weak composition. The example below sends the core parameters explicitly so the output is reproducible.
const response = await fetch("https://api.segmind.com/v1/clarity-upscaler", {
  method: "POST",
  headers: {
    "Content-Type": "application/json",
    "x-api-key": process.env.SEGMIND_API_KEY
  },
  body: JSON.stringify({
    image: "https://example.com/source-image.png",
    prompt: "masterpiece, best quality, highres",
    scale_factor: 2,
    creativity: 0.35,
    resemblance: 0.6,
    dynamic: 6,
    num_inference_steps: 18,
    seed: 12345
  })
});

if (!response.ok) {
  throw new Error(`Upscale failed: ${response.status} ${await response.text()}`);
}

const result = await response.json();
console.log(result);
Once the request works, store the input URL, host, parameters, seed, output URL, and run cost together. That record is what lets you rerun a matching image later or compare hosts without guessing. For a broader implementation pattern, the same request logging and retry discipline applies when you build AI workflows with an API.
If the output looks too different, lower creativity first or raise resemblance in small steps. If the output is still soft, raise creativity slightly before adding more inference steps. If contrast looks too strong, reduce dynamic. For portraits, test Crystal Upscaler separately because portrait preservation is a narrower problem than general image enhancement.
Frequently asked questions
Is Clarity Upscaler only for AI-generated images?
No. It can upscale generated art, photography, product images, and mixed-media assets. It is especially useful after AI generation because diffusion outputs often need a final realism pass before they sit next to photography, which is why it pairs naturally with AI image editors and photo tools.
What scale factor should I start with?
Start with scale_factor: 2. It is usually enough to make a web or social image easier to crop, and it keeps the output size predictable. Larger scale factors can work, with outputs up to roughly 13k pixels, but cost, runtime, and artifact risk all rise.
Should I use Replicate, fal.ai, Segmind, or clarityai.co/api?
Use the host whose pricing model matches your volume. Replicate’s flat per-run price is easy to forecast for mixed image sizes, while fal.ai’s per-megapixel model needs more careful sizing on large outputs. If you already compare model APIs, keep the same habit you would use when reviewing Recraft V4 API examples and use cases: test output quality, latency, and cost with your own source images.
What prompt should I use?
The default prompt, masterpiece, best quality, highres, is a safe baseline. Add specific detail only when the image needs it, such as “clean product edges” or “natural skin texture.” Avoid prompts that introduce new objects, new clothing, or a new scene unless you are comfortable with the image changing.
How do I keep API costs under control?
Limit the input queue to images that are already approved, then upscale only the sizes you need. For galleries or product sets, generate a small test grid first, lock the parameters, and then run the rest in a batch. This is the same production habit used in programmatic image generation platforms.
Can I call Clarity after Flux or another generation model?
Yes. That is the most practical order: generate the image, edit or crop it, then run Clarity as the last enhancement step. If the generated image still has layout problems, fix those first, because an upscaler will usually make existing mistakes sharper.
Conclusion
The main lesson is to treat Clarity Upscaler as a finishing API, not a general repair tool. Choose the host based on output size and volume, start from the default parameters, then tune creativity and resemblance together. If you want that step inside a repeatable production chain, Wireflow’s visual AI workspace can place the upscaler after generation, review, and export logic.
For the first production run, keep the setup narrow: one approved input image, a 2x scale factor, the default prompt, creativity: 0.35, resemblance: 0.6, dynamic: 6, and a fixed seed. Save the output, inspect it at full size, then decide whether the next change should preserve the image more closely or let the model add more detail.