AI-generated animation has become one of the fastest ways to produce YouTube content without a studio budget. Whether you want cartoon explainers, anime shorts, or stylized motion graphics, the current generation of AI video tools can take you from a text prompt to a finished clip in minutes. This guide walks through the full process, from planning your concept to exporting a publish-ready video.
Choose Your Animation Style First
Before opening any tool, decide on the visual style your channel needs. The most common categories for YouTube animation are 2D cartoon, anime, 3D render, and motion graphics. Each style attracts a different audience and works better for certain formats. Cartoon explainers perform well for educational channels, while anime-style shorts tend to do better in entertainment niches. If you already use FLUX models for image generation, you can create consistent character reference sheets that carry into your video pipeline.
Your style choice also determines which AI models you will rely on. Image-to-video models like Kling 2.5 and Runway Gen-4 work best with clean, high-resolution input frames. Text-to-video models can generate scenes from scratch but offer less control over character consistency. For most YouTube creators, a hybrid approach using both image and video models works best: generate your key frames as still images, then animate them.
Write a Script and Storyboard
A common mistake is jumping straight into generation without a plan. Start with a script that covers your video’s hook, main content beats, and call to action. For a standard 8 to 12 minute YouTube video, aim for 1,500 to 2,000 words of narration. For Shorts, keep it under 150 words. Many free AI video generators can handle the visual side, but the script is what holds the viewer’s attention.
Once your script is ready, break it into scenes. Each scene needs a brief visual description that you will later use as a prompt. Think of this as a lightweight storyboard. List the character, setting, camera angle, and action for every shot. Tools like FLUX prompt generators can help you refine vague descriptions into detailed prompts that produce better results.
Generate Your Key Frames
The quality of your animation depends heavily on the input images. Use a text-to-image model to generate each scene’s key frame at the highest resolution available. FLUX 1.1 Pro and similar models produce photorealistic or stylized outputs depending on your prompt prefix. For cartoon or anime styles, include explicit style references in your prompt (for example, “flat 2D cel-shaded illustration, bold outlines, pastel palette”).
Generate 2 to 3 variants per scene and pick the one with the best composition. Pay attention to character consistency across frames. If your character’s appearance drifts between scenes, viewers will notice. Using a consistent prompting approach with fixed seed values and detailed character descriptions helps maintain visual continuity.
Animate Still Frames with AI Video Models
This is where static images become moving content. Image-to-video models accept a still frame and generate 4 to 10 seconds of motion based on a text prompt describing the desired movement. The leading options in 2026 include:
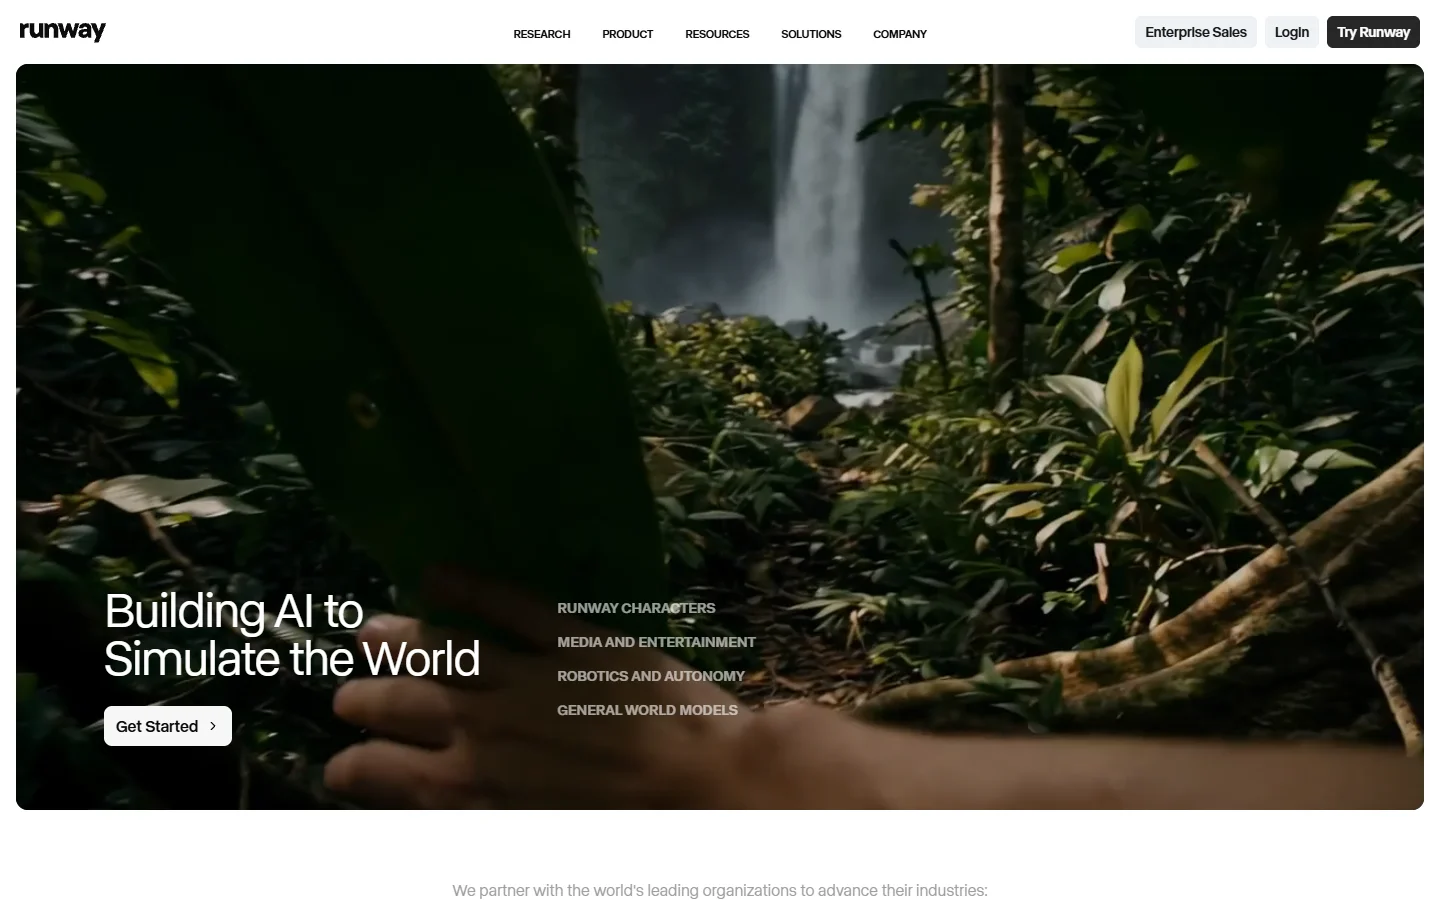
Runway Gen-4 produces smooth, cinematic motion with strong prompt adherence. It handles camera movements well and is one of the top alternatives for AI video generation.
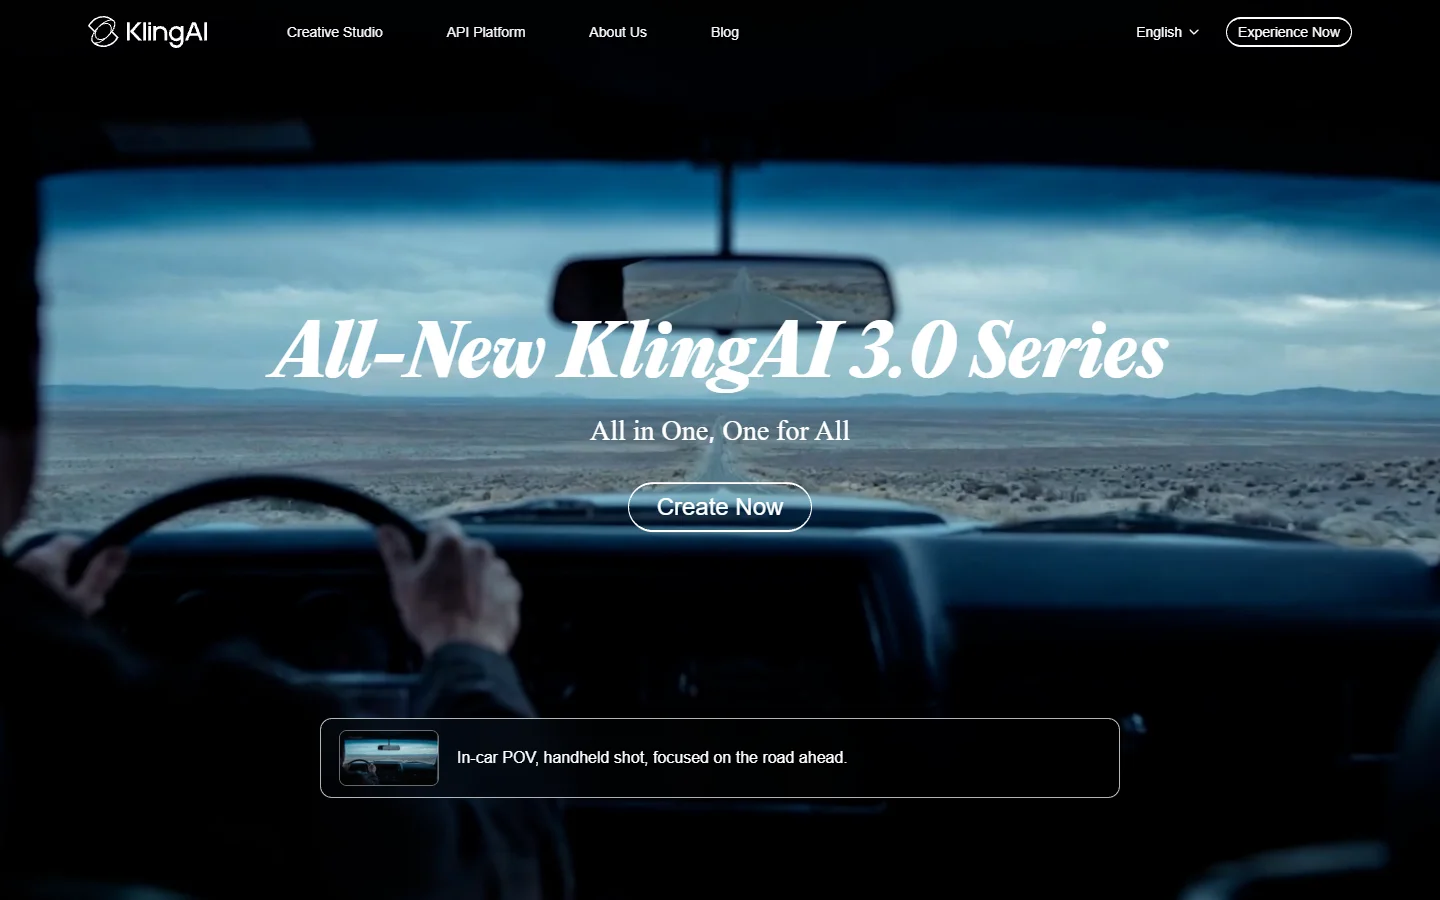
Kling 2.5 excels at character animation and facial expressions. It generates up to 10-second clips and handles complex scenes with multiple subjects. For creators who want to build automated video pipelines, Kling also offers API access.
Minimax Hailuo is a strong free-tier option that generates consistent motion at decent quality. It works well for creators testing the waters before committing to a paid plan. Platforms like Wireflow’s creative tools let you chain image generation and video animation into a single workflow, which saves time when producing multiple scenes.
Add Voiceover, Music, and Sound Effects
Raw AI animation clips need audio to feel complete. Good AI voiceover tools can generate narration that sounds natural enough for most YouTube formats. You have three main options:
- AI text-to-speech: services like ElevenLabs and PlayHT produce natural-sounding voices in dozens of languages. Feed your script directly and export the audio track. For more options, see this comparison of AI music and audio generators.
- Your own voice: recording yourself adds authenticity, which YouTube’s algorithm tends to reward through higher watch time.
- Hybrid: use AI for draft narration to test timing, then re-record key sections with your own voice.
For background music, royalty-free AI music generators can produce tracks matched to your video’s mood and length. YouTube’s own Audio Library also remains a reliable free source. Layer sound effects on top of transitions and key moments to keep viewers engaged. If you need help finding the right AI voice tools for your content, several options now support voice cloning and multi-language output.
Edit and Assemble Your Final Video
With all your animated clips and audio ready, assemble everything in a video editor. Free options like DaVinci Resolve or CapCut handle most YouTube workflows. If you want AI-powered editing in the browser, several platforms now combine generation and editing in one interface.
During assembly, focus on these details:
- Pacing: cut clips to match your narration. Dead air or lingering shots lose viewers.
- Transitions: use simple cuts and fades. Flashy transitions distract from the content.
- Text overlays: add key terms, chapter titles, or callouts. Background removal tools can help isolate subjects for clean overlays.
- Captions: auto-generated captions improve accessibility and watch time. YouTube’s built-in captioning works, but dedicated tools produce more accurate results.
Export at 1080p minimum (4K if your source material supports it). Use H.264 or H.265 encoding, which YouTube processes efficiently. For a deeper look at free video creation tools, several platforms now offer browser-based editing with AI-powered features built in.
Cost Breakdown for a Typical Video
One of the biggest advantages of AI animation is cost. Compared to traditional workflows, even free AI image generators can produce key frames that look professional. Here is a rough breakdown for a 10-minute video with 30 scenes:
| Component | Estimated Cost |
|---|---|
| Key frame generation (30 images) | $2 to $5 |
| Image-to-video animation (30 clips) | $5 to $15 |
| AI voiceover (10 minutes) | $1 to $3 |
| Background music | Free to $5 |
| Total | $8 to $28 |
Compare that to hiring a freelance animator ($500 to $2,000 for the same length) and the savings are significant. The tradeoff is hands-on time: expect 3 to 6 hours for your first video, dropping to 1 to 2 hours once you have a repeatable process. Tools at wireflow.ai can reduce that further by automating the generation and chaining steps.
Frequently Asked Questions
What is the best AI tool for making animated YouTube videos? It depends on your style. For cinematic motion, Runway Gen-4 leads. For character-heavy animation, Kling 2.5 handles facial expressions and body movement well. For quick, template-based animation, Animaker and InVideo offer drag-and-drop interfaces that work for beginners.
Can I monetize AI-animated videos on YouTube? Yes. YouTube’s monetization policies allow AI-generated content as long as it provides value to viewers and follows community guidelines. Disclose AI usage in your description if the content could be mistaken for real footage. Many creators already monetize channels built with watermark-free AI video tools without issues.
How long does it take to make an AI-animated video? A 10-minute video with 30 scenes takes roughly 3 to 6 hours on your first attempt. With practice and a streamlined no-code workflow, you can cut that to 1 to 2 hours. Shorts take 15 to 30 minutes.
Do I need to know how to draw or animate? No. AI handles the visual generation. You need to write good prompts and have a basic understanding of video editing for assembly. Familiarity with text-to-image models like FLUX helps you produce better key frames.
What resolution should I export my videos in? Export at 1080p (1920×1080) minimum for standard YouTube videos. 4K (3840×2160) is better if your source material supports it. For Shorts, use 1080×1920 (9:16 vertical). You can upscale AI frames before animating if your source images are low resolution.
How do I keep characters consistent across scenes? Use detailed character descriptions in every prompt and fix the seed value when your model supports it. Generate character reference sheets with front, side, and three-quarter views. Some workflow platforms let you lock a reference image across multiple generations.
Is AI animation good enough for professional YouTube channels? Quality has improved dramatically. Channels with over 100,000 subscribers now use AI animation for explainers, storytelling, and educational content. The key is pairing AI-generated art with careful editing and strong scripting.
Conclusion
Making animated videos with AI for YouTube is practical, affordable, and increasingly competitive with traditional animation. The core workflow is straightforward: write a script, generate key frames with a text-to-image AI model, animate them with an image-to-video tool, add audio, and edit. The tools improve every few months, so what takes hours today will likely take minutes by next year. Start with a single Short to test your pipeline, then scale up to longer content as you refine your process.