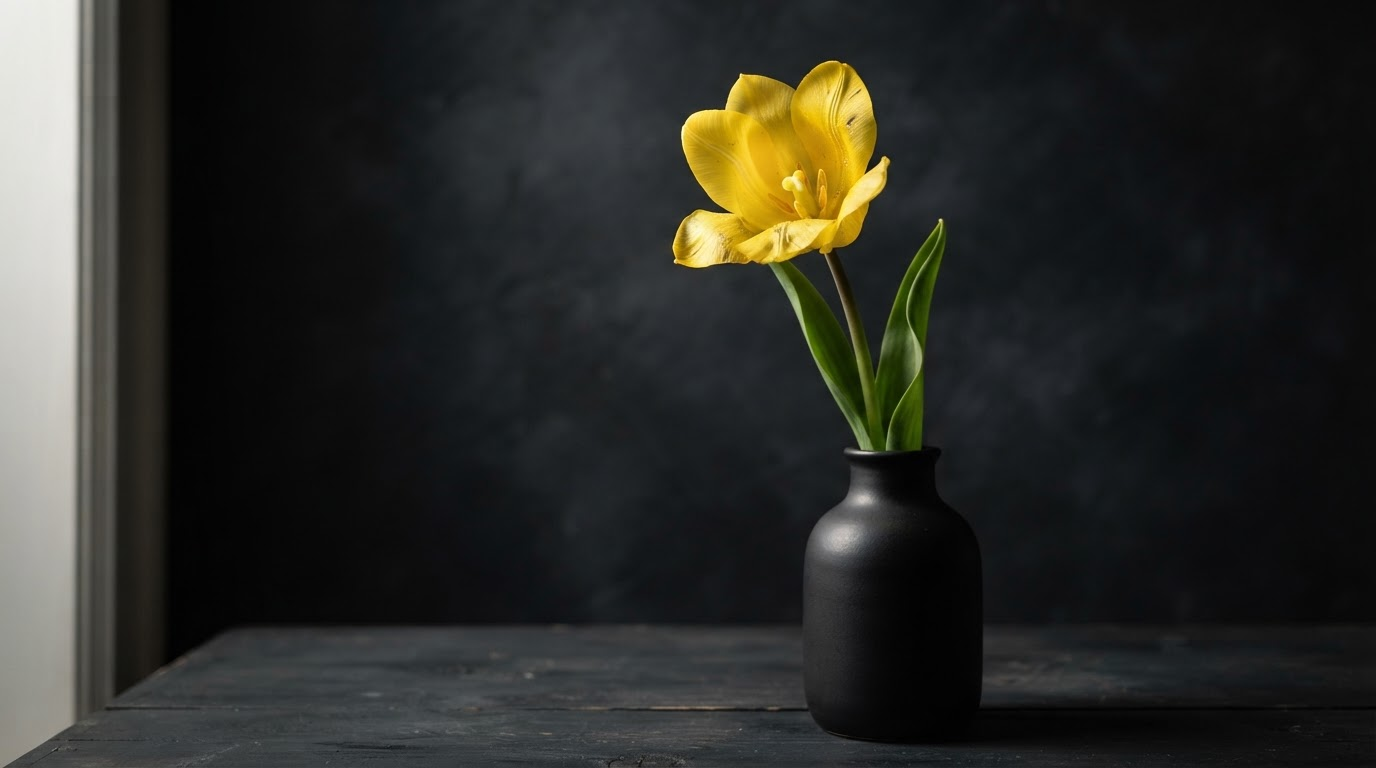
A Facebook ad creative generator turns a product description and a few brand details into finished ad images. The useful ones do more than paste a headline over a stock photo. They build the scene, light the product, respect Meta’s aspect ratios, and give you enough variations to actually run a test.
That last part matters more than most people expect. A single creative tells you almost nothing. Media buyers who run paid social at any real budget replace creative constantly, and the bottleneck is almost never strategy. It is production time. This is the gap that AI-assisted ad creative tools close, because an image model can render forty variations of a lifestyle shot in the time a designer opens the source file.
This guide covers how these generators work, how to prompt them so the output survives a live campaign, and the workflow that produces sets rather than one-offs. It assumes a modern text-to-image model such as FLUX rather than a template editor.
What a Facebook ad creative generator actually does
Three distinct jobs are happening. Scene construction decides what the image shows, where the product sits, and how it is lit. Format handling produces that scene at 1:1, 4:5, and 9:16 so one concept covers Feed, Stories, and Reels. Copy placement is either baked into the image or left to Meta’s own text fields. Most social ad generators do all three, but they differ sharply in how much control they hand you over the first one.
The control question is the one worth asking before you commit to a tool:
- Template-based tools swap your product into a fixed layout. Fast, consistent, and visually identical to everyone else using the same template.
- Prompt-based image models build the scene from scratch. Slower to dial in, far more distinct output, and no layout ceiling.
- Hybrid setups generate the scene with a model, then composite the product photo in so the product itself stays accurate.
For physical products the hybrid route is usually right, because a generated product is a guess and a composited one is the real thing. The same logic that governs AI product images for an online store applies to paid social: the background can be synthetic, the SKU cannot.
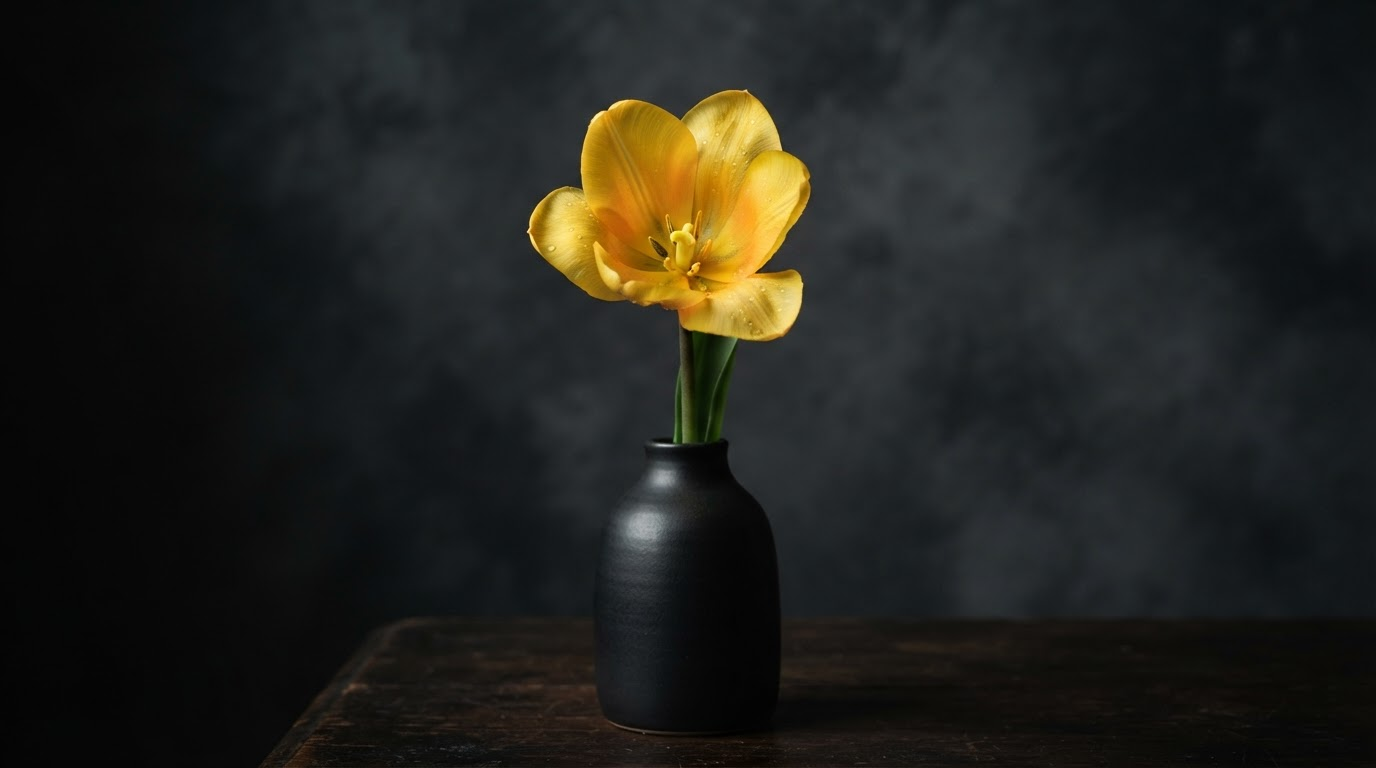
The formats Meta actually needs
Before generating anything, know your output targets. Running a 16:9 image through Feed placements gets it cropped badly, and Meta will not warn you in a way anyone notices.
Square and vertical cover the vast majority of paid placements, so generate those two first and treat landscape as optional. Models that handle realistic photo generation tend to compose better at 1:1 than at extreme vertical ratios, so it is often cleaner to generate square and extend the canvas than to prompt directly at 9:16.
| Placement | Ratio | Common pixel size | Notes |
|---|---|---|---|
| Feed | 1:1 | 1080 x 1080 | Safest default, works everywhere |
| Feed (vertical) | 4:5 | 1080 x 1350 | Takes more screen height than 1:1 |
| Stories and Reels | 9:16 | 1080 x 1920 | Keep the top and bottom 14% clear of key detail |
| Right column | 1.91:1 | 1200 x 628 | Low volume, low priority |
Keep the subject centered with generous margin. Stories place a profile chip at the top and a call-to-action bar at the bottom, and anything important in those zones gets covered. If a generated scene puts the product too close to an edge, changing or extending the background is usually faster than regenerating the whole image.
Writing prompts that produce usable ad images
The difference between a generated image that looks like AI output and one that looks like a photoshoot comes down to prompt specificity. Vague prompts produce vague, plasticky results. A prompt that reads like a photographer’s shot list produces something you can run. If you are starting from nothing, a prompt generator is a reasonable way to get a first draft you then edit down.
Build the prompt in layers:
- Subject. The exact product, stated plainly, with material and colour.
- Setting. Where it sits, on what surface, in what room or environment.
- Lighting. Soft window light, hard studio key, golden hour, overcast. This does more work than anything else on the list.
- Camera. Focal length and depth of field. “Shot on 85mm, shallow depth of field” reads as photography; leaving it out reads as render.
- Mood and palette. Two or three words, not a paragraph.
A worked example for a skincare bottle: “Matte white glass serum bottle on a wet travertine ledge, soft diffused morning light from the left, water droplets on the stone, warm neutral palette, shot on 85mm, shallow depth of field, editorial product photography.” That is specific enough to be repeatable, which matters when you want twelve variants that still look like one campaign. Browsing a library of worked prompts is a faster way to learn this structure than trial and error.
Two things to avoid. Do not ask the model to render your headline text inside the image, because text rendering is still the weakest part of most image models and Meta gives you dedicated copy fields anyway. And do not stack twenty adjectives; past a point they cancel each other out and the model averages everything into mush.
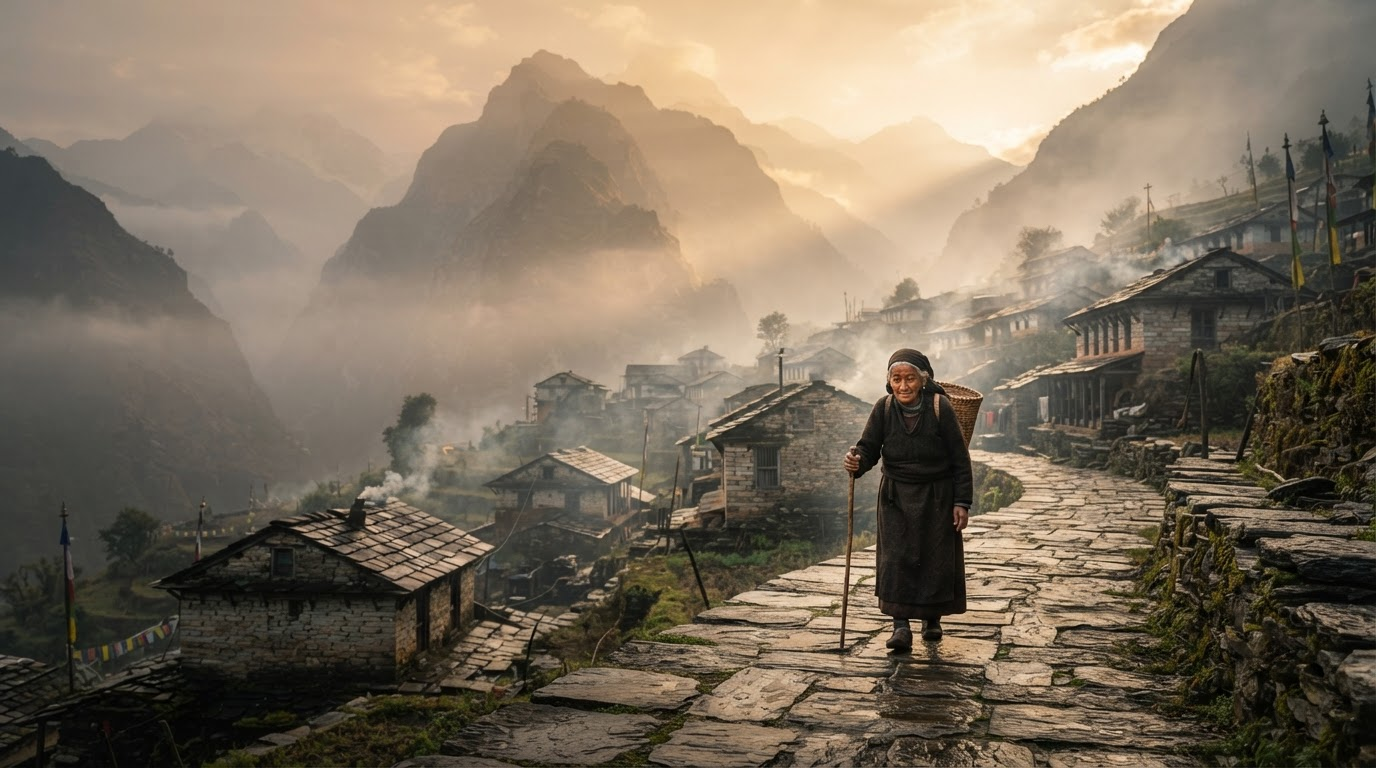
A workflow that produces sets, not one-offs
Single images are a trap. The point of generating creative is volume, so the workflow should assume you are producing a batch from the start. The same sequencing shows up in most guides to making AI commercials and ads for a brand, scaled down to stills.
- Write one base prompt that captures the campaign look.
- Generate six to eight square images from it and pick the two strongest compositions.
- Fork each winner into four variants by changing exactly one thing: background, lighting, angle, or prop.
- Composite the real product photo into any frame where accuracy matters.
- Extend the winners to 4:5 and 9:16, checking the safe zones.
- Export, name them by variable so you can read the results later, and upload.
Step four is where a clean cutout of the product earns its keep. If your source photo has a busy background, removing the background first gives you a reusable asset that drops into every scene you generate afterwards, which turns a per-image chore into a one-time setup cost.
Testing at volume without losing the thread
Changing one variable at a time is what makes a creative test readable. If variant B has a different background, a different angle, and a different colour grade, a lift tells you nothing about which change caused it. Keep the base prompt fixed and move one layer. Teams running this at scale usually drive it through an API so the variant matrix is generated programmatically, and batch image generation via API is the mechanism that makes a forty-image test cost minutes instead of days.
Expect most of them to lose. That is the normal shape of paid social, and it is why per-asset cost matters more than per-asset polish. The same economics drive the shift toward UGC-style ad creative, where the winning format is deliberately rough and the value sits in how many angles you can afford to try.
Mistakes that get creative rejected or ignored
- Generated hands, faces, or logos left unchecked. Zoom in before you upload; a six-fingered model in a lifestyle shot is the fastest way to lose trust.
- Text baked into the image at small sizes, which compresses badly and often renders with malformed letters.
- Inconsistent colour across a set, which is what happens when the base prompt drifts. Locking a palette early is one of the practical reasons to systematise brand content production rather than prompt ad hoc.
- Ignoring the safe zones, then wondering why the Stories version underperforms the Feed version.
- Claiming results in the image that the landing page does not support, which is a policy problem as much as a creative one.
Model choice matters here too, mostly for prompt adherence and how well fine detail survives. Reviews that compare current image generators are worth reading on that specific axis rather than on general image quality, because a model that ignores a third of your prompt will quietly ruin a variant test.
FAQ
Do AI-generated Facebook ads violate Meta’s policies?
No. Meta’s advertising policies govern what an ad claims and shows, not how the image was produced. Generated imagery is allowed as long as it does not misrepresent the product, imply results you cannot support, or depict a real person without permission. If you are working on a budget, even free image generators are fine for this, provided the licence permits commercial use.
Should I generate the product itself or composite a real photo?
Composite the real photo whenever the product is recognisable. Generated products drift in shape, label, and proportion, and customers notice when what arrives does not match the ad. Generate the environment, keep the SKU real.
How many creatives do I need to test properly?
Four to six distinct concepts per ad set, each with two or three variants, is a workable starting point for a small budget. The number scales with spend, not ambition. If you also want motion in the mix, turning a still into a short video is a cheap way to get a Reels placement out of a creative that already works as an image.
Can a generator write the ad copy too?
Many do, and the output is usually serviceable for a first draft. Treat it as a starting point rather than a finished asset. Copy is where offer clarity lives, and that is the part a model has no context for unless you give it your actual positioning and constraints.
What resolution should I export at?
1080 pixels on the short edge is enough for every standard placement. Going higher does not improve delivery and only slows uploads. Generate larger if you plan to crop aggressively, then downscale on export. Light retouching in an AI image editor before the downscale is usually where small artifacts get cleaned up.
How often should creative be refreshed?
Watch frequency and cost per result rather than the calendar. When frequency climbs past roughly 2.5 on a cold audience and cost per result rises with it, the creative is worn out. At normal spend that lands somewhere between two and four weeks.
Wrapping up
A Facebook ad creative generator is worth adopting for one reason: it moves creative production from a scarce resource to a cheap one, which changes how you test. The workflow that gets value out of it is unglamorous. Write a specific base prompt, generate a batch, change one variable at a time, composite the real product where accuracy matters, and export to the placements you actually run. Once that loop is stable, moving it onto a programmatic image generation setup is what turns it from a manual task into standing capacity.
The tooling side is simpler than it looks once you separate scene generation from product accuracy. If you want the background on how the current model family handles this kind of photographic prompt work, the FLUX model overview is a reasonable place to start.