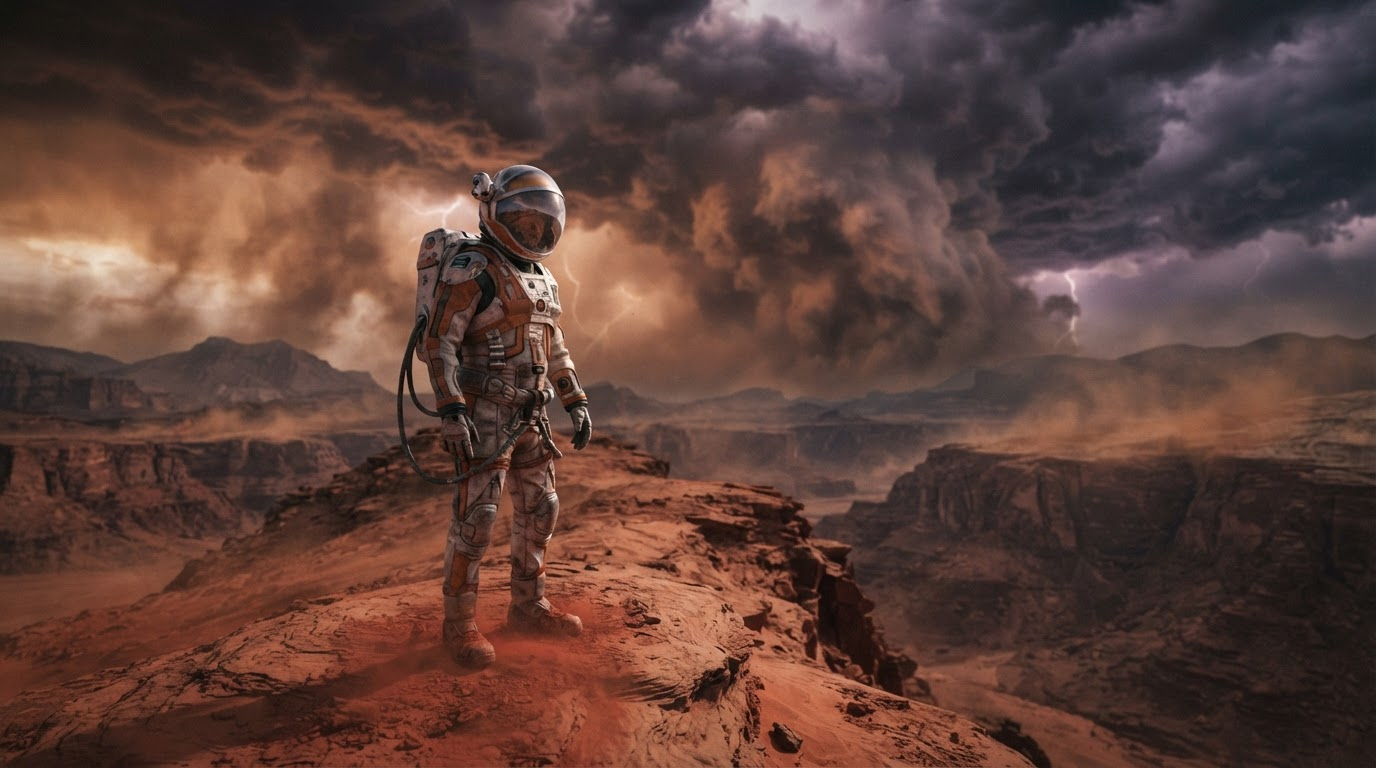
Learning how to create a movie trailer with AI goes better once you stop treating it as a video job. A trailer is roughly 25 to 40 shots, most of them under two seconds, and very few of them need much movement. What they need is to look expensive. That makes a trailer an image problem first and a motion problem second, which is useful, because image models are further ahead than video models and a still costs a fraction of a clip to iterate on.
The workflow below is the one that survives a real edit: write the beat sheet, design every shot as a still, lock your cast and locations, animate only the frames you approved, then cut to music. Most of the work sits in those middle steps, and a working grasp of FLUX prompt structure will shape the finished trailer more than any single video model choice.
Why a trailer is an image problem first
Generate a trailer straight from one text prompt and you get thirty seconds of unrelated footage. The model has no memory of your lead between generations, no reason to keep the same city, and no sense of the escalation a trailer is supposed to build. Starting from stills fixes all three, because you approve the look of every shot before any motion exists. A text to image generator is where the art direction actually happens.
The cost difference is just as blunt. A still regenerates in seconds for a fraction of a cent, while a five second clip takes minutes and real credits. Iterating twenty times on a key frame and animating it once is far cheaper than iterating twenty times on video, and you are approving something you can judge at a glance instead of scrubbing a timeline.
Concept artists have worked this way for decades. The same discipline behind AI concept art for film and games produces good trailer frames: establish the world, then the character, then the single moment that makes someone want to see the rest.
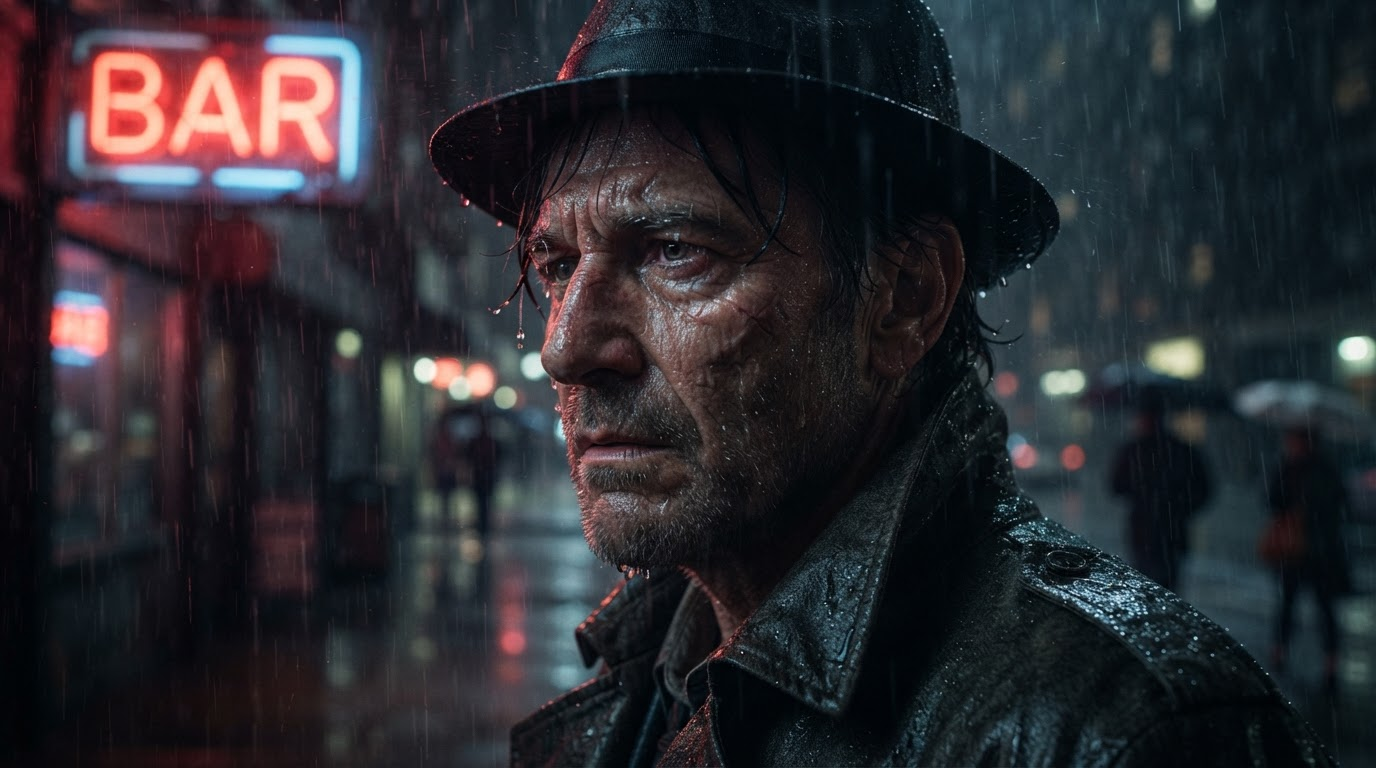
Step 1: Write the beat sheet before you generate anything
A trailer has a fixed shape, and knowing it before you open a generator saves a lot of wasted renders. Write one line per beat, name the shot, note the length, and stop at about thirty lines. It helps to sketch this against a reference first, and our guide to turning text into video covers how loose a prompt can get before a model starts inventing its own story.
- Cold open: one quiet, strange image, three to five seconds
- Setup: who the character is and what normal looks like, four to six shots
- Inciting turn: the event that breaks normal, two or three shots
- Escalation: shorter cuts, rising stakes, eight to twelve shots
- Hard cut to black under a single line of dialogue
- Final montage on the music drop, six to ten shots under a second each
- Title card, then a button shot or a joke
Each line becomes exactly one image prompt, which is why the beat sheet matters more than the tool you reach for next. Trailers fail in the edit far more often than in the render, and almost always because nobody fixed the order of events first. A prompt generator is useful at this stage only after the beats exist, never instead of them.
Step 2: Design every shot as a still
Now write each beat as an image prompt. Keep the same four components in every one so the set holds together as a film rather than a mood board: subject, action, lens and framing, light. Swap the subject and the action between shots and hold the lens and light language steady, because that consistency is what reads as a single production.
Useful framing language for trailer stills includes anamorphic wide, 35mm close-up, low angle hero shot, over the shoulder, and extreme close-up on hands. For light, name a single source and a colour: hard sodium key from frame left, cold moonlight through blinds, practical neon behind the subject. Models such as FLUX 1.1 Pro respond well to that kind of physical description and badly to abstract words like cinematic or epic.
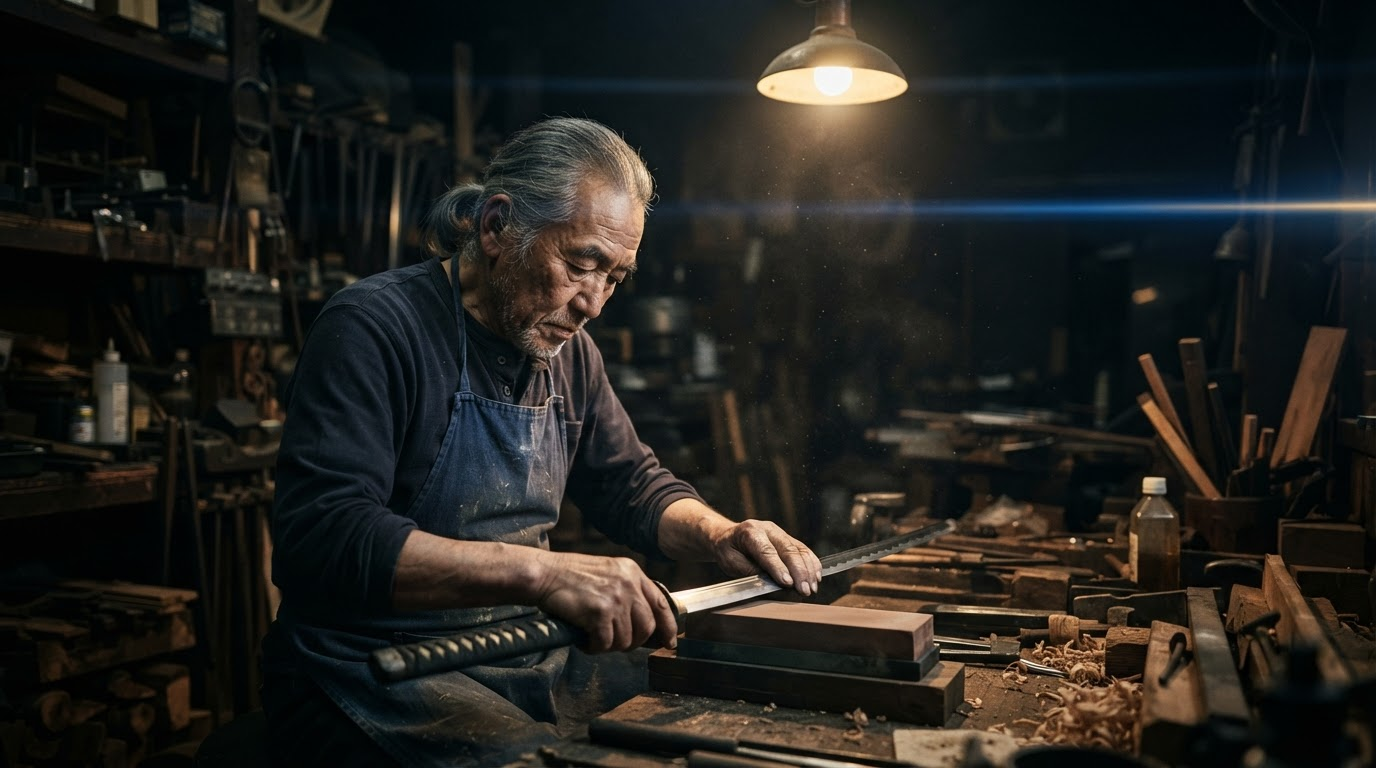
Render two or three options per beat and pick before moving on. Do not perfect a frame you might cut. The comparison of current image generators is worth a look if your renders keep coming back plastic, since model choice matters most on faces and skin.
Step 3: Keep your cast and locations consistent
This is where most AI trailers fall apart. The lead looks like a different actor in every shot, and no amount of editing hides it. The fix is to build a small reference sheet before you generate the trailer proper: one front view, one three quarter, one profile, one full body, all in the same light. That sheet becomes the input image for every later shot of that character.
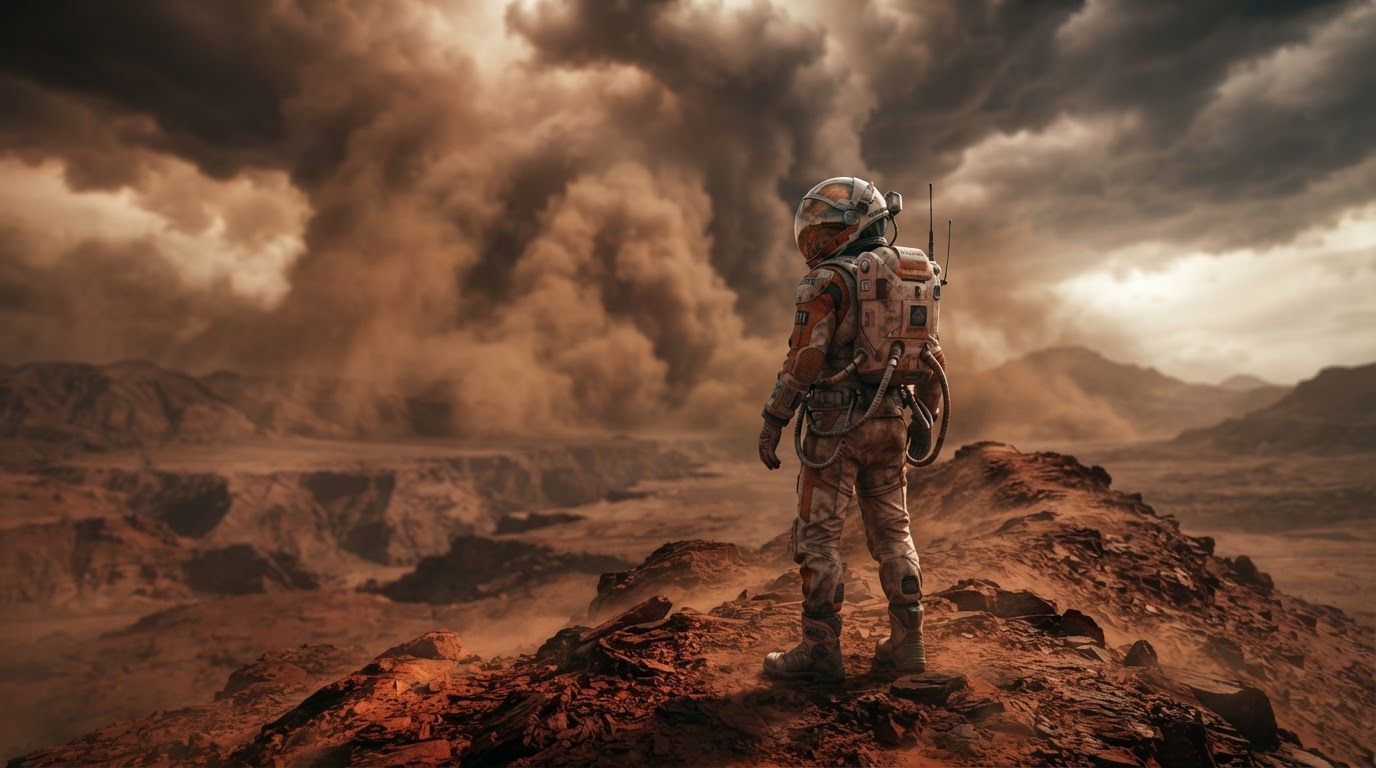
Do the same for each location. Generate one wide establishing plate per setting, then use it as a reference when you generate the closer coverage, so the same architecture, weather and palette carry across the sequence. Our walkthrough of turning an image into a video covers why a strong plate matters even more once motion is involved.
Step 4: Animate only the frames you approved
Feed each approved still into an image to video model and ask for one simple move. Trailer shots live for well under two seconds, so a slow push in, a slight parallax drift, a head turn, or drifting smoke is enough. Big camera moves are where models break down, and a subtle move on a beautiful frame always beats a dramatic move on a mangled one. The practical guide to animating still images has the prompt patterns that tend to survive.
The catch with most one-click trailer apps is that they hide this stage entirely. You get a finished cut from a prompt, but changing a single shot means regenerating the whole trailer, and the app usually locks you to one video model. If you would rather keep each shot as its own step, Wireflow’s AI trailer maker puts the key frame render, the animation model, the voiceover and the score on one canvas, so you can re-run shot fourteen with a different model and leave the other thirty alone.
Budget your credits by beat. The final montage is the part an audience actually remembers, so spend there and accept cheaper renders on the setup shots that pass in half a second.
Step 5: Cut to music, then add voice
Pick the track before you assemble. Trailer editing is music-led, and the cut points come from the drums rather than from the story, so a final montage timed to nothing will feel flat no matter how good the shots are. If you are scoring from scratch, our notes on building AI soundtracks cover how to get a usable rise and drop instead of a loop.
Lay the clips against the track first, then trim. Most shots want to be shorter than instinct suggests: a second and a half in the setup, a third of a second in the montage. Voiceover goes last and stays sparse, which is why a single clean read usually works better than a full narration, and the same tooling behind AI voiceovers for video handles a trailer read fine.
Which video model to animate with
| Model | Strength for trailers | Watch out for |
|---|---|---|
| Kling 3.0 | Native 4K at 60fps and multi-shot storyboarding, up to six cuts per generation | Longer render times, higher credit cost per clip |
| Veo 3.1 | Synchronized native audio generated with the clip, strong physical motion | Tighter content filters on violence and likeness |
| Sora 2 | Good at complex camera language and crowd scenes | Less predictable when driven from a reference image |
| Seedance | Fast and cheap for short image to video moves | Weaker on long takes and fine facial detail |
Pick one model for the whole trailer if you can, because mixing models mid sequence introduces grain and colour differences you then have to grade out. Our review of Kling video 3 goes deeper on where each engine currently sits.
What makes an AI trailer look cheap
Three things give it away. Shots that hold too long, because every extra frame gives a viewer time to spot a warped hand. Motion that is too ambitious for the model, which shows up as melting geometry halfway through a push in. And a cast that quietly changes face between cuts. All three are fixed at the frame stage rather than in the edit, which is the whole argument for designing stills first. If quality rather than speed is your constraint, the rundown of current AI video generators is a reasonable place to sanity check your model choice.
FAQ
How long does it take to create a movie trailer with AI?
A first pass takes about a day once you know the workflow: two to three hours on the beat sheet and stills, two hours animating, and a couple of hours in the edit. The stills stage dominates, and a realtime FLUX model is the fastest way to shorten it while you are still testing framing.
Do I need video footage to make an AI trailer?
No. Every shot can start as a generated still that you then animate, which is the approach described above. Teams with existing footage usually mix the two, cutting real plates against generated inserts.
What is the best AI model for movie trailer shots?
For the stills, any current high-fidelity image model handles trailer framing well, and FLUX 1 explained covers where that family fits. For the motion, Kling 3.0 and Veo 3.1 are the two most people land on, the first for resolution and the second for built-in audio.
How do I keep the same actor across every shot?
Build a four angle reference sheet of the character first and pass it in as the reference image for every later generation. It is the same technique behind generating a consistent set of AI portraits, and prompt wording alone will not hold a face across thirty shots.
Can I use an AI-generated trailer commercially?
Usually yes, though it depends on the terms of the specific model you generated with, and on whether the trailer uses a real person’s likeness or a trademarked property. Check the licence for commercial use and for any attribution requirement before you publish.
How much does an AI movie trailer cost to make?
Stills are close to free at this scale, usually a few dollars for a couple of hundred renders. The clips are the real cost, and thirty animated shots typically lands somewhere between ten and sixty dollars depending on the model and resolution, as the Veo 3.1 pricing examples show in more detail.
Why does my AI trailer feel slow even though the shots look good?
Almost always the cut, not the renders. Trailer shots run shorter than they feel like they should, and the montage needs to sit on the music rather than near it. Try halving every shot length in the final third before you touch the footage.
Conclusion
The frame-first order is what makes this work: beats, then stills, then consistency, then motion, then music. It puts every expensive decision behind a cheap approval, and it leaves you with a set of key frames you can reuse for the poster and the thumbnails afterwards. Start with a single beat, render it three ways, and animate the one you would actually put on a poster. If you want to go deeper on the handoff between the two halves of the process, our walkthrough of taking a FLUX still into video is the companion piece to this one.