Node based video generation is the practice of building a video pipeline as a graph instead of a single prompt box. Each step lives in its own node: a text prompt, an image model, an upscaler, a motion model, an audio track. You wire the outputs of one node into the inputs of the next, then run the whole graph. If you already generate stills with a FLUX image generator, you have most of the mental model already, because the first half of almost every video graph is an image graph.
The reason this approach keeps spreading is control. A single prompt tool gives you one lever and one result. A graph gives you a lever per stage, so you can lock the parts you like and rerun only the parts you do not. That is the same argument behind building AI workflows without writing code, applied to motion instead of static output.
What a node graph actually contains
A node is a single operation with typed inputs and outputs. Text goes in, an image comes out. An image goes in, a video clip comes out. Nothing in the node knows or cares what came before it, which is why graphs are easy to rearrange. If you have read what FLUX 1 is and how its variants differ, the node abstraction is just that model wrapped in a box with sockets.
Most working video graphs contain some mix of these node types:
- Prompt nodes hold the text that seeds the run. Keeping them separate means you can swap wording without touching anything downstream.
- Image nodes generate the first frame or a reference frame using a model such as FLUX.
- Upscale and cleanup nodes fix resolution and artifacts before motion is applied.
- Video nodes take a still plus a motion prompt and return a clip.
- Post nodes handle audio, captions, colour, and export.
The prompt node is worth isolating on purpose. When the text sits in its own node rather than buried inside a model’s settings panel, you can version it, reuse it across branches, and diff two runs honestly. A prompt generator built for FLUX fits naturally in that slot.
The image node decides the whole clip
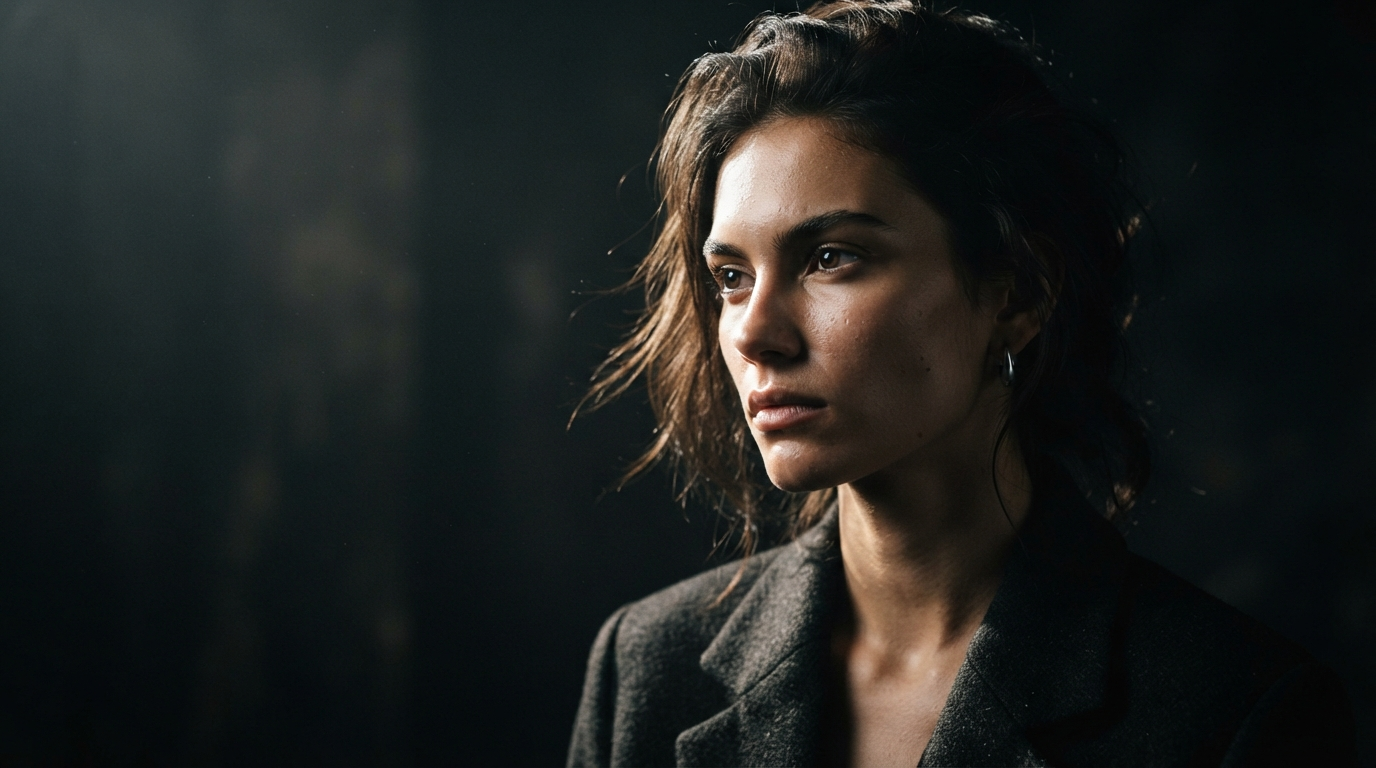
Video models animate what you give them. Give a soft, low detail first frame and you get a soft, low detail clip with drifting edges. Give a sharp frame with clear subject separation and the motion model has something solid to hold onto. This is why people running serious video graphs spend most of their iteration budget on the still, often on a higher fidelity model like FLUX 1.1 Pro rather than the fastest option available.
If you want to see the pattern applied end to end on a hosted canvas, this node based video generation breakdown is worth a look, since it walks through the same prompt to image to motion chain with each stage exposed as its own node.
Practically, the rule is simple: fix the frame before you animate it. Reviewing how still images get animated with AI makes the dependency obvious, because every failure mode in the clip traces back to something that was already wrong in the frame.
Building a graph step by step
Here is a graph that works for a short product or character clip, in the order you would wire it. It assumes a still model such as the ones covered in the realistic AI photo generator roundup at the front of the chain:
- Prompt node. Write the scene in plain description. Subject, setting, lighting, lens, mood. Keep camera motion out of this one.
- Image node. Generate the first frame at the highest quality you can afford. Generate four candidates, not one.
- Selection. Pick the frame with the cleanest subject edges and no anatomy errors. This is a human step and it should stay one.
- Upscale node. Push the chosen frame to the resolution your video model expects, usually 1080p or higher.
- Motion prompt node. Describe only the movement. “Slow push in, subject turns toward camera” is enough.
- Video node. Feed the frame and the motion prompt together and render a short clip, four to eight seconds.
- Post nodes. Add audio, trim, and export.
Steps two through four are the ones you will rerun most. The guide on turning any image into a video with AI covers the handoff between the still and the motion model in more depth, including why aspect ratio mismatches cause the crop artifacts people usually blame on the video model.
Keep your prompt text in a library rather than retyping it each run. A set of tested FLUX prompts gives you known good starting points for the image node, which shortens the part of the loop that eats the most time.

Where graphs beat single prompt tools
Single prompt tools are faster for one off clips. Graphs win the moment you need the same output twice, or twenty times with one variable changed. The comparison below is about workflow shape rather than any specific product, and the trade offs hold across most of the AI video generators available in 2026.
| Need | Single prompt tool | Node graph |
|---|---|---|
| One clip, right now | Faster | Slower to set up |
| Reproducing an exact look | Difficult, seed only | Straightforward, rerun the graph |
| Changing one stage | Full regeneration | Rerun that node only |
| Mixing models per stage | Rare | Standard |
| Batch of 50 variants | Manual | Parameter sweep |
| Debugging a bad result | Guesswork | Inspect node outputs |
The batch column is where the difference compounds. Once a graph exists, running it across a list of inputs is a loop rather than an afternoon, which is the same economics described in running batch image generation via API.
Practical tips and common mistakes
The most common mistake is over prompting the motion node. Video models handle one clear movement well and three competing movements badly. Describe the camera or the subject, not both plus the weather. The second most common mistake is generating the first frame with a stylised model and then expecting photoreal motion; if you want a specific look, pick the model that produces it natively, whether that is a realism tuned checkpoint or something like FLUX Krea for its particular aesthetic.
A short checklist that catches most bad runs before they cost you a render:
- Match the frame aspect ratio to the video node’s expected output.
- Keep the subject away from the frame edge; motion models warp edges first.
- Render a four second test before committing to a longer clip.
- Save the seed and the exact prompt text for anything you might need to reproduce.
- Name your nodes. A graph with twelve untitled boxes is unmaintainable a week later.
For teams, the practical question is where the graph lives. Local installs give you full model choice and no per run cost beyond electricity, while a hosted visual AI workflow canvas removes the GPU management and makes graphs shareable with people who will never open a terminal.
Either way, plan for the graph to be called by something other than a human eventually. Once a pipeline is stable, the natural next step is driving AI workflows through an API so that a form submission, a spreadsheet row, or a scheduled job can trigger the same run.
FAQ
Do I need a GPU for node based video generation? Only if you run the models locally. Local node editors need a card with substantial VRAM, usually 12GB or more for comfortable video work. Hosted canvases run the models on their own hardware and charge per run instead, which is the same split you see across the image generators compared for 2026.
Can I mix different models inside one graph? Yes, and that is the main reason to use a graph at all. A common setup uses FLUX for the still and a separate motion model for the clip. Platforms that expose models as interchangeable nodes make this trivial, which is what headless AI workflow platforms are built around.
How long can a generated clip be? Most current motion models produce four to ten seconds per run. Longer pieces are assembled from multiple clips, which is exactly what the graph structure is good at. The workflow for stitching clips into something usable is covered in creating marketing videos with AI.
Is node based generation slower than a normal prompt box? The first run is slower because you are building the graph. Every run after that is faster, because you rerun one node instead of the whole pipeline. Fast preview models such as FLUX Realtime cut the setup cost further by letting you iterate on the still in near real time.
Will the output have a watermark? That depends entirely on the model and the platform, not on the graph. Check the terms for each node’s model before you build a commercial pipeline on it; the watermark free options are documented separately.
Do I still need to write good prompts? More than ever. A graph multiplies the effect of a prompt across every downstream node, so a vague description at the top produces vague output at every stage. The fundamentals in turning text into video with AI still apply; the graph just makes it clearer which prompt caused which problem.
Conclusion
Node based video generation is not a new model, it is a different way of holding the models you already use. Splitting a pipeline into prompt, image, upscale, motion, and post gives you a place to intervene at every stage and a record of what produced what. Start with the image node, because a clean first frame fixes more problems than any amount of motion prompting, then wire outward from there. If you want to experiment before committing to a local install, the free online video generation tools are a reasonable place to test the shape of a graph without hardware.